Showing posts with label platform. Show all posts

Thursday 30th June

Worklist:
Gas engine paint finish
Platform fence
Play trains!

A particularly satisfying session this week. A few projects to finish off and playing trains on the whole layout.

The layout bases were assembled and cabled.


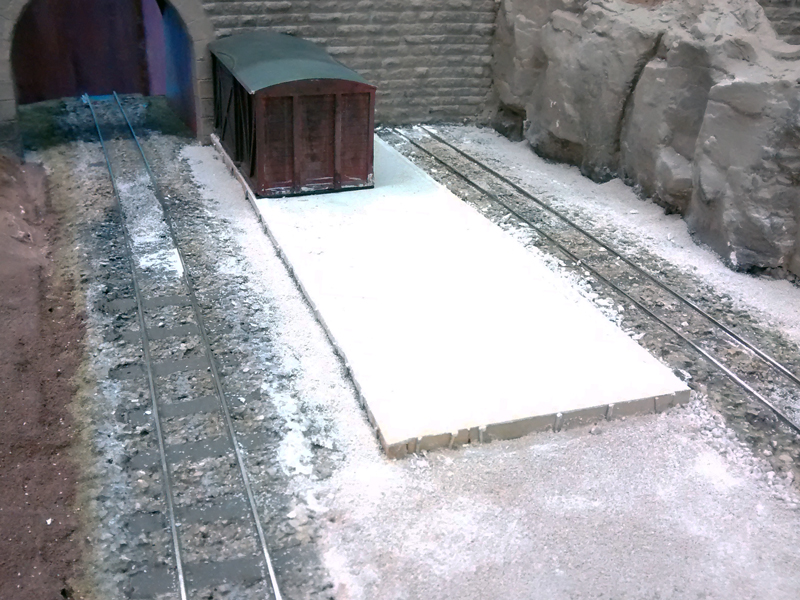
It was good to get everything out to be able to see what we have been working on, on individual boards. Although quite a way off being finished, it was very pleasing to see how it was developing.


It was also useful to test the track and points, which threw up a new problem. We knew we had a problem with John's points due to the way the blades and frog were one continuous element. This becomes a problem if the blades touch the stock rails out of sequence with the frog micro-switches. We were reminded that this situation occurs at each point-throw, so we have to ensure loco's are stationary when points are changed. However, one of the points caused a short when left in one direction. It was found that the servo horn had moved out of alignment which meant one switch wasn't activated, causing a dead short. This was easily rectified, but definitely something we'll have to keep an eye on.

As we started cleaning the track, Geoff announced that he was going to make a cleaning device he'd seen in a magazine. A section of aluminium channel, a bolt and some wood off-cuts, and it was ready. We all had a play and immediately put our orders in for one!


Whilst the building and features were being set out, Geoff completed work on his gas engine by cleaning off the red paint from the 'tyres', which finished it off perfectly.


We also had a couple of 'Whoops!' moments that had to be included at Laurence's insistence!

Laurence completed installation of the platform fence only to find, when the first item of stock was run past it that it was too close! It was so close that the holes had to be filled ready for re-drilling next time.


The second whoops was when Laurence was shunting his Decauville 0-6-0 in the platform and the front buffer was pulled off.


Thursday 12th May

Worklist:
Yard finishes, but mainly grass.
Mine Quarry platform.

Two again, with Laurence getting his 'bins' seen to.

The paper-mache verges had dried and been painted earth brown, and Geoff was now itching to have another go at laying electrostatic grass. The eBay-home-made charger was deployed, just like the first trial. A mixture of Noch fibre grass and ground rubber foliage were used, with varying success (upright-grass wise), but the overall effect was good. Lots of practice is required to get the effects seen on notable layouts like Pempoul, but that's going to be fun.


We'll have to see how much has actually stuck down, once the PVA has dried.

Geoff had been working on weathering to the yard paving, which really brought out the patterns nicely.


Stephen continued with the platform, by staining the timber edgings. Chinchilla dust was then laid on a layer of PVA, and painted to induce a feeling of hard-worked grunge. The van was repainted and weathered.


Although this siding originally served the adjacent mine, we now feel that a quarry could be more interesting as wagon loads would be more variable. We discussed having a pile of 'Jubilee' track on the end, which prompted a discussion on the various types. Don't you just love narrow gauge?


Geoff had recently taken delivery of some more vehicles - a Ferguson GE20 tractor, a Ford Popular car and a Ford Thames van.


Note the cracks induced in the road at the railway track (to be painted) - one of Geoff's pet details. Colour is really lifting the layout now.


As a finale, we cleaned the track to test a new chassis (Hornby 0-4-0, for Stephen's Gn15 layout). Instead of fine emery paper, we tried graphite. Talking to Christopher Payne (Portpyn) at a recent show, he'd enthused about using a block of graphite obtained from an artists supplies shop. Geoff rummaged through a tin box of old motor brushes. Stephen notched one to allow top and inside rail-faces to be cleaned in one 'pass' (it also stayed in the right place). Geoff filed one down to get between the wing rails on the points. We were both impressed with the performance.


Thursday 5th May

Worklist:
Yard and road finishes
Platform and surrounding area finishes

Laurence was on nautical duties so just two.

Geoff continued with the yard by fettling the cut joints between panels of plastic setts. First, a tool was made with a double-edged blade, like a scraper-board pen. This enabled the raised edges (which were clearly annoying Geoff) to be removed. In the end, a centre punch proved much more useful.

Pre-cleaning panels - the gaps had to go!


Foam inserts and then paper mache were applied to the edge of the road.


Stephen applied a layer of Smooth-It to the platform. It is quite sloppy, as recommended, which makes levelling interesting.


The van body chosen to provide a a secure/dry store on the platform was cleaned up and the base repaired. Dropped on after the plaster had dried, it looks the part.


Stephen then looked at the test panel of chinchilla dust Laurence had applied the previous week. None of the gloss cream paint was visible and the surface looked very good albeit a little too regular. Random sanding worked well, to make the surface more realistic.

Chinchilla dust, as applied
Chinchilla dust given a light, random sanding
Here, it's used to fill the areas next to the track ballast.

Following a discussion the previous week, Stephen had brought down a Corgi Bedford OB coach he'd bought over 20 years ago. It's 1:50, but this works well in the small space. It's not Geoff's favourite coach on the basis that it wasn't the most common model, but it works well. It's for the excursions that are starting to run to the embryonic preserved railway.


Missing from last week was a photo of the coal yard, which was given a coat of 'Yard Filth', made by Green Scene.


To 'finish off' the yard, Geoff applied a mixture of weathering colour.


And finally, we had a lot of PVA left over from the paper-mache work, so the hill got a dusting of green texture.


NB: the chinchilla dust has previously been attributed to Iain Rice, but it actually came from Gordon Gravett's excellent book on scenery.

Thursday 28th April

Worklist:
Yard paving
Surface treatment experiments
Mine siding platform

Geoff cut-out panels of embossed plastic paving and glued it on the yard. We were particularly pleased with the way the path strips had been adapted into an expanse of paving. The completed area was given a base coat of the same paint used for the bridge walls and the wall copings. Gulleys will be added.


In the central area between the tracks - the future coal yard - the plaster edges were fettled to blend with the track ballast and then given given a coat of the 'Filthy Yard' textured paint tested the previous week.

Over lunch, the postman delivered a consignment of 'chinchilla dust'. Geoff had read a book by Iain Rice describing its use in creating textured surfaces. Laurence followed Geoff's instructions and painted a test area with gloss paint and sprinkled it with the dust, which resembled dried bread yeast. We'll see what it looks like next week.


Stephen continued with the new mine siding platform. Having decided to use the Slaters van as a dry/secure store, the sleepers along the 'back' of the platform were lifted and refixed to form a wider platform. Timber packer sheets were glued inside the sleeper surround ready to receive the plaster infill (next week). Finally, a three-man effort - cutting and straightening copper wire pieces, drilling holes and inserting same - completed the days work of fitting lengths of rebar to hold the sleepers in place.


Thursday 21st April

Worklist:
Develop yard road surfaces
Finish vertical drill
Develop mine siding area

Following the previous weeks road plastering, Geoff had filled the areas around the timber infill with more Smooth-It. A light scrape and sand finished off the interfaces. The area between the main siding and the head shunt were now treated with PVA and more plaster. This area is intended to be a coaling stage/collection point, and the surface will be treated to represent compacted ash.


A coating of 'Yard Filth' was applied at one end, as a trial. Grubby brown in colour, the paint also has some texture material in it that created quite a nice effect.


Geoff went on the cut out and glue down section of paving setts for the main yard area. 


Gulleys and manholes will be fitted in due course, together with the other paving panels which we hope to pick up at the Epsom & Ewell show the following weekend.

Laurence fitted a dividing head plate he'd made for the vertical drill. He also cleaned up the electric motor and pulley assembly that sits over and drives the drill.


Stephen spent a while cleaning up the workshop walls, but turned his attention to the mine siding area. With several of the original features already removed, all that remained was a scribed plaster platform, a few oil drums, petrol cans, a packing case, a seated figure and some shrubbery. We discussed what the siding might be used for and whether the bits could fit into the scenario. We decided that the siding and platform would probably be to 'hold' goods transported here on normal trains, ready to be taken up the mine on company wagons. A covered store would be ideal, and an old van (possibly a Slaters kit) was found in the 'bits box'. A new platform of sleeper edging and ash infill seemed appropriate. Stephen got to work...

Just the old platform to be removed

New timber sleeper platform edging

The van being tested in place. The platform may require amendment


Thursday 21st January

Worklist:
Wall copings
Fencing
Loco testing

Geoff carried on with the end wall, although now inspired by some photos of Hampton Court perimeter walls obtained by Stephen using Google Streetview (see bottom of this post)

The core of the triangular coping is formed from hardwood, run through a bandsaw. The triangle was carefully sized to suit brick courses, first cut into square sections and then into triangles using a vee block clamped to the guide. The brick strips were cut from stretcher-bond plastic sheet. Two over-sailing courses of stretcher-bond were glued onto the face of the wall and the assembled coping glued on top.

Square section of hardwood in vee block to enable cutting into triangles


The coping turned out wonderfully. The red plastic colour is representative of engineering bricks so we'll probably just apply mortar colouring and argue they've been recently replaced. The 'stone' cappings will now be raised up on brick over-sailing courses.

Stephen made-up the plywood bases for the main gate piers. Whilst Geoff is keen to model the curved buttresses on one of the HC photos, Stephen, (taking the easy way out) prefers a simpler, stepped affair. To be continued . . .

Laurence continued with his work on the platform crossover, making the brass supports for the fence. These have been glued to the plastic Peco fence sections and will be fitted next time.

Peco fencing with brass stiffeners/mounting spikes


Crow steps from the Roper Gate, Canterbury