Thursday 21st January

Worklist:
Wall copings
Fencing
Loco testing

Geoff carried on with the end wall, although now inspired by some photos of Hampton Court perimeter walls obtained by Stephen using Google Streetview (see bottom of this post)

The core of the triangular coping is formed from hardwood, run through a bandsaw. The triangle was carefully sized to suit brick courses, first cut into square sections and then into triangles using a vee block clamped to the guide. The brick strips were cut from stretcher-bond plastic sheet. Two over-sailing courses of stretcher-bond were glued onto the face of the wall and the assembled coping glued on top.

Square section of hardwood in vee block to enable cutting into triangles


The coping turned out wonderfully. The red plastic colour is representative of engineering bricks so we'll probably just apply mortar colouring and argue they've been recently replaced. The 'stone' cappings will now be raised up on brick over-sailing courses.

Stephen made-up the plywood bases for the main gate piers. Whilst Geoff is keen to model the curved buttresses on one of the HC photos, Stephen, (taking the easy way out) prefers a simpler, stepped affair. To be continued . . .

Laurence continued with his work on the platform crossover, making the brass supports for the fence. These have been glued to the plastic Peco fence sections and will be fitted next time.

Peco fencing with brass stiffeners/mounting spikes


Crow steps from the Roper Gate, Canterbury

Thursday 14th January

Worklist:
Gateway
Track crossings
Era and scenario discussions

Geoff continued with the railway gateway, fitting all of the components and applying 'mortar' to the painted brickwork.
Pointing added to brickwork and main gateway parts glued in place.
Note the English garden wall bond brickwork.
Chamfered cappings to gateway.
The relocated coaling stage trialled in the proposed coal area
Stephen completed the timber foot-crossing he had started last week. The timbers were filed down to clear the rail-tops and then re-stained.


This was considered to be one of two crossings to the platform, but the other crossing needed to be thought through. Stephen suggested that the layout as a whole needed to be considered in more detail in order to decide where the crossing should go. Was it a working railway for a working estate, or was it a preserved railway. If the former, who would use the station? Members of the household, or was there a village and where would the passengers come from? The crossing fitted could be coming from the main road, off the board edge, but was it a bit narrow? Passengers could come through the yard, but would the Lord & Lady of the house come that way. Was the gas plant and engine a working concern, or some form of attraction? And what about the mine? Finally, what period in time was it all set?

After a prolonged discussion, wherein types and movements of stock were considered, it was decided that an early, preserved railway around 1965 - 1970, fitted most of our requirements. The gas engine had been replaced by mains power, but was still in working order. Visitors would come from the near-by car-park into the centre of the station. Access to the platform would be across a wider crossing, protected by a fence. The engine room, goods shed and cafe, are all accessed off the connecting road.
The coaling stage would be supplied by coal trucks on the railway, with a sideline in bagged coal sold off the access road. The mine is still a working concern with materials going up the mine and stone products back the other way. The preserved line scenario, although a little contrived, does give a lot of scope for interesting train operation, features, signage etc, whilst the period obviates the need for full Health & Safety provisions.


Laurence made and fitted the central crossing and recycled some old fencing from the original layout.


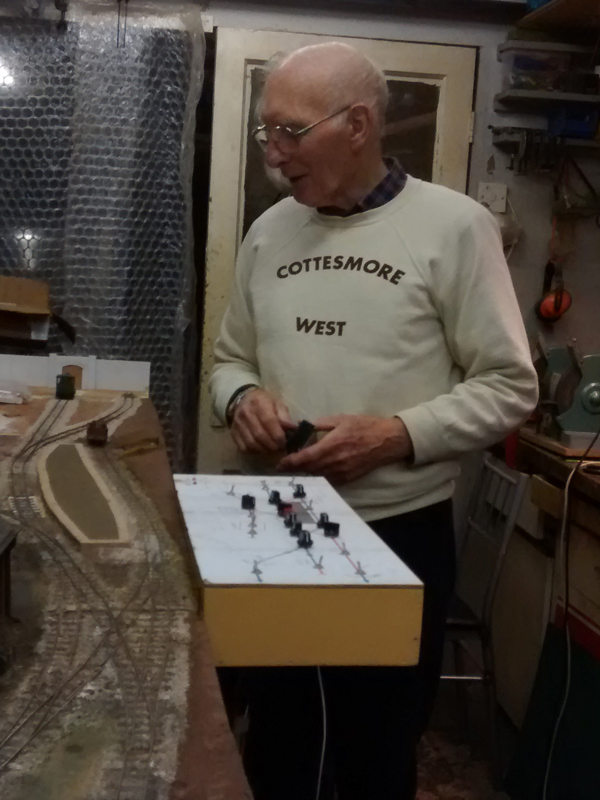
Meantime, Stephen made-up the power supplies for two low-voltage features on the centre baseboard i.e. the gas engine and its sound unit. We've used a number of these small units, purchased on eBay, normally from China. They take a DC supply of up to 40v and, provide a DC voltage from 30v down to 1.5v. (Our current batch cost £5.75 for ten - post free)

We have a 19v DC supply going to each board, provided by an old laptop power supply. They were made-up for each project - 5v for the sound unit and then the engine supply roughly adjusted to set a nice working speed for the engine. These will be fitted under the board, with on-off slide switches fitted under the fibreglass hill.

The power supplies as fitted in the control box for point operation.


Thursday 7th January 2016

Worklist:
Ballasting
Gateway
Foot crossing
Stonework paint

Just two this week as Laurence has a ballroom competition in Torquay.

Geoff and Stephen hunted high and low for the remains of the ballast used so far. Just as they were planning a shopping trip, the Woodland Scenics Buff Coarse ballast was found and duly applied to several bare and in-need-of-repair areas.

While that dried, Geoff continued to work on the gateway, mainly distressing the timbers and finishing the brickwork fettling.


Stephen tackled a task that had been on the back-burner far too long - a foot crossing for the platform. We have discussed access to the platform several times and can't decide where the principal point should be, so there will be one at each end. The most obvious one will be at the yard end, but crossing pointwork onto the yard road (not ideal for lord & lady whatever). The other crossing just goes off the edge of the board, but can be construed as being much 'safer' and leads to the main road from the house. The timbers are left over from the retaining wall and will need to be sanded and repainted/stained, once the glue has set.


Stephen decided to paint the mine tunnel and, pondering an anonymous wash, asked Geoff what he had available for a base colour. A tub of soft sheen, water-based kitchen/bathroom paint in a creamy yellow appeared. Albeit years old, (and it's original purpose long forgotten) it mixed-up nicely and some was decanted into a pot. Some dark brown poster paint was added and then a gloopy drop of Tamiya black acrylic. When fully mixed, it looked so good that instead of the tunnel, the main bridge wall face was painted, then the rest of the bridge, then the main stone edifice and the outcrop. It's just a base coat at this stage, but we were very pleased with the effect.


With a small amount left in the pot, Geoff applied masking tape to the platform edging and painted that as well.


One of those pleasing and unexpectedly productive days!


Thursday 31st December 2015

Worklist:
Sound unit
Loco testing
Track testing
Gateway

The last day and last session of 2015.

Stephen had been busy over Christmas. A speculative purchase on eBay of a voice recorder had produced a small board of components with an on-board microphone that could hold up to 20 seconds of audio. There were no instructions, but a search on the web found some, although experimentation was still required to work out what the various options were. A YouTube video of a 5hp Tangye engine was found and the audio track extracted. A sound editing program allowed two 'sections' of sound to be isolated. A speaker and 5v power supply were attached to the unit and the clip recorded. It was then set to 'repeat' the sound clip and Hey Presto! our engine had a realistic backing track. The unit was rigged-up next to the model engine and the two run together. The final arrangement of speaker position and encasement needs to be resolved, but we were pleased with the overall effect.

Sound unit, speaker and engine

Two 'sections' of the engine sounds were recorded, carefully matching the breaks, so the repeat worked (almost) perfectly


 5hp Tangye engine


Stephen had also purchased a second hand loco - a Kato HO FTB unit. None of us had any experience of Kato models, but we were amazed at the silent slow speed of the unit. A railcar is being researched. After running up and down in awe for a while, the unit was pressed into use testing the track and further issues were discovered with the pointwork.

Kato HO FTB auxiliary power unit

Geoff continued with the track extension gateway. The piers were clad in brick sheet and the timber doors added. Pier caps and general wall copings next, and the junction with the roadway will need to be resolved, but it's looking very nice. (Geoff made no comment when Stephen suggested a third rail to create a 9mm/15" dual gauge feature.....)


Laurence always complains about being far more prominent on the blog than he would like, but then turns up in one of our original Cottesmore West sweatshirts. (He's probably the only one of us who could fit in one these days)