Fencing
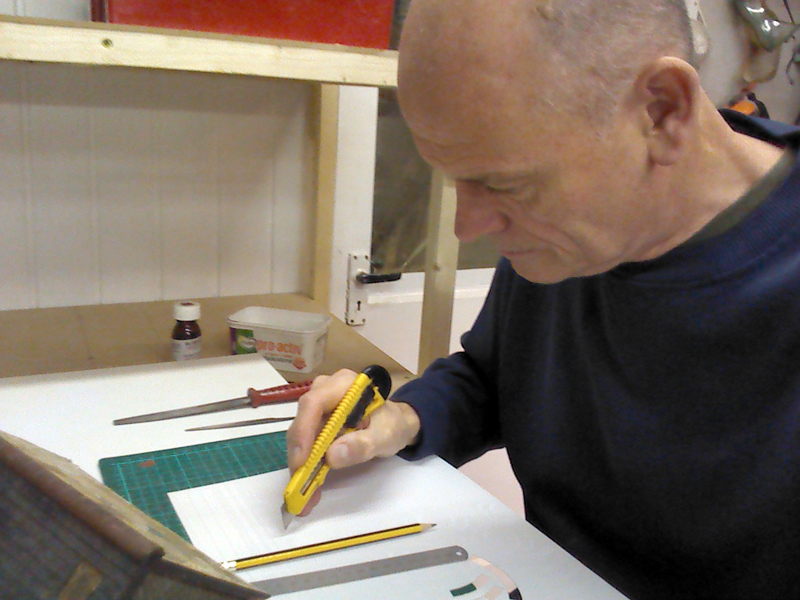
Crane details
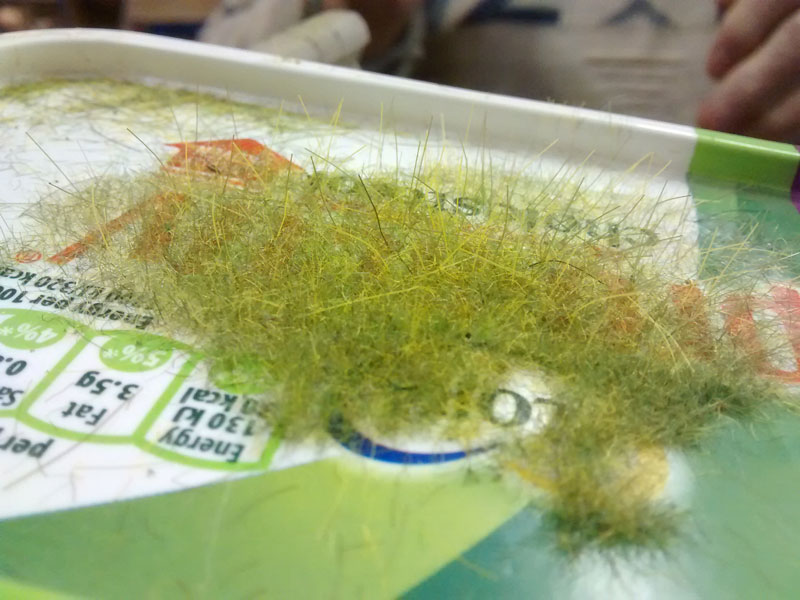
Grass
There was no meeting the previous week due to illness and trips to families for Christmas, but all three were ready for heavy dose of railway modelling.
Laurence had his head down as usual, working on his yard crane. This was interspersed with trips to the lathe and group sessions of looking for the bits he dropped en-route. In his defence, the bits are very small.

Stephen and Geoff progressed the fence on the hill behind the workshop. The aim is to provide a fence to stop livestock slipping down the steeper sections. The shape of the ground dictated the line of the posts quite nicely. A return section beside the water tank would help to disguise the board joint - the perennial problem. Posts had been fashioned and drilled for wire the previous meeting and now they were painted. The drilled holes had nagged Stephen over Christmas (sad eh?) Concrete post fences had holes for wires, but didn't timber post have wires stapled to them? Geoff agreed. But would anyone notice? It was determined that loops of wire could be fed into the holes to 'trap' straining wires onto the face of the posts - fiddly, but 'do-able'. Maybe for just the tank-side fence? The main longitudinal wires could be fed through the holes or glued on the back, as determined by the actual installation. When the posts had dried, holes were drilled at 6' centres and the posts glued in place. Just doing that changed the hillside very nicely.


Geoff and Stephen both agreed that a similar line of fencing was required on the front edge of the layout, running up to the bridge face.
Thoughts turned to the water supply pipes to and from the water tank. The principles had been discussed ages before. A large feeder pipe from a source higher up the slope into the tank top next to the access hatch (ball valve controlled), which also needs an access ladder. From low-down on the tank, a pipe running in a timber box-trunking (insulated inside) runs down to the gasifier equipment. We weren't sure where the supply should be connected to the equipment, but decided a feed to the base of the gas holder and a tap & hose pipe would be needed/useful. It was not too much of a stretch-of-imagination to conclude that the pipes could go 'underground'. All we needed was to get the feed pipe to a comfortable position at ground level and a wall face opposite the gasifier room was chosen. Stephen started fabricating the timber pipe trunking and Geoff worked on a preparing lost-wax tap and hand-wheel castings.
 |
| The pipe trunking becomes a cabinet at low level for an isolation valve and a tap, for a hose. |
 |
| The proposed route. The trunking will be fixed off the ground on timber posts. |
 |
| The lost-wax brass tap having a wire hose soldered on. |
 |
| The hand wheel (operating the hidden isolation valve) would be located on the front of the casing, while the tap will be on the casing side. |
While these elements were left to dry, efforts then divided: Geoff made-up a batch of rusty-iron coloured paint and painted any unpainted metalwork - mainly rail posts and details. He then continued to apply strips of grass previously made on the silicon sheet.


Stephen removed a panel of brick sheet that had been glued on a vertical face inside the bridge. It didn't match the stonework on the face and didn't follow the arch. Sections of foam were shaped and glued into the top corners and would receive a skim of plaster - next time.