Worklist:
Start laying road surfaces.
Produce roofing slate strips for cottages.
Start building foam scenery structure on transition board 4.
Just Geoff and Stephen this week.
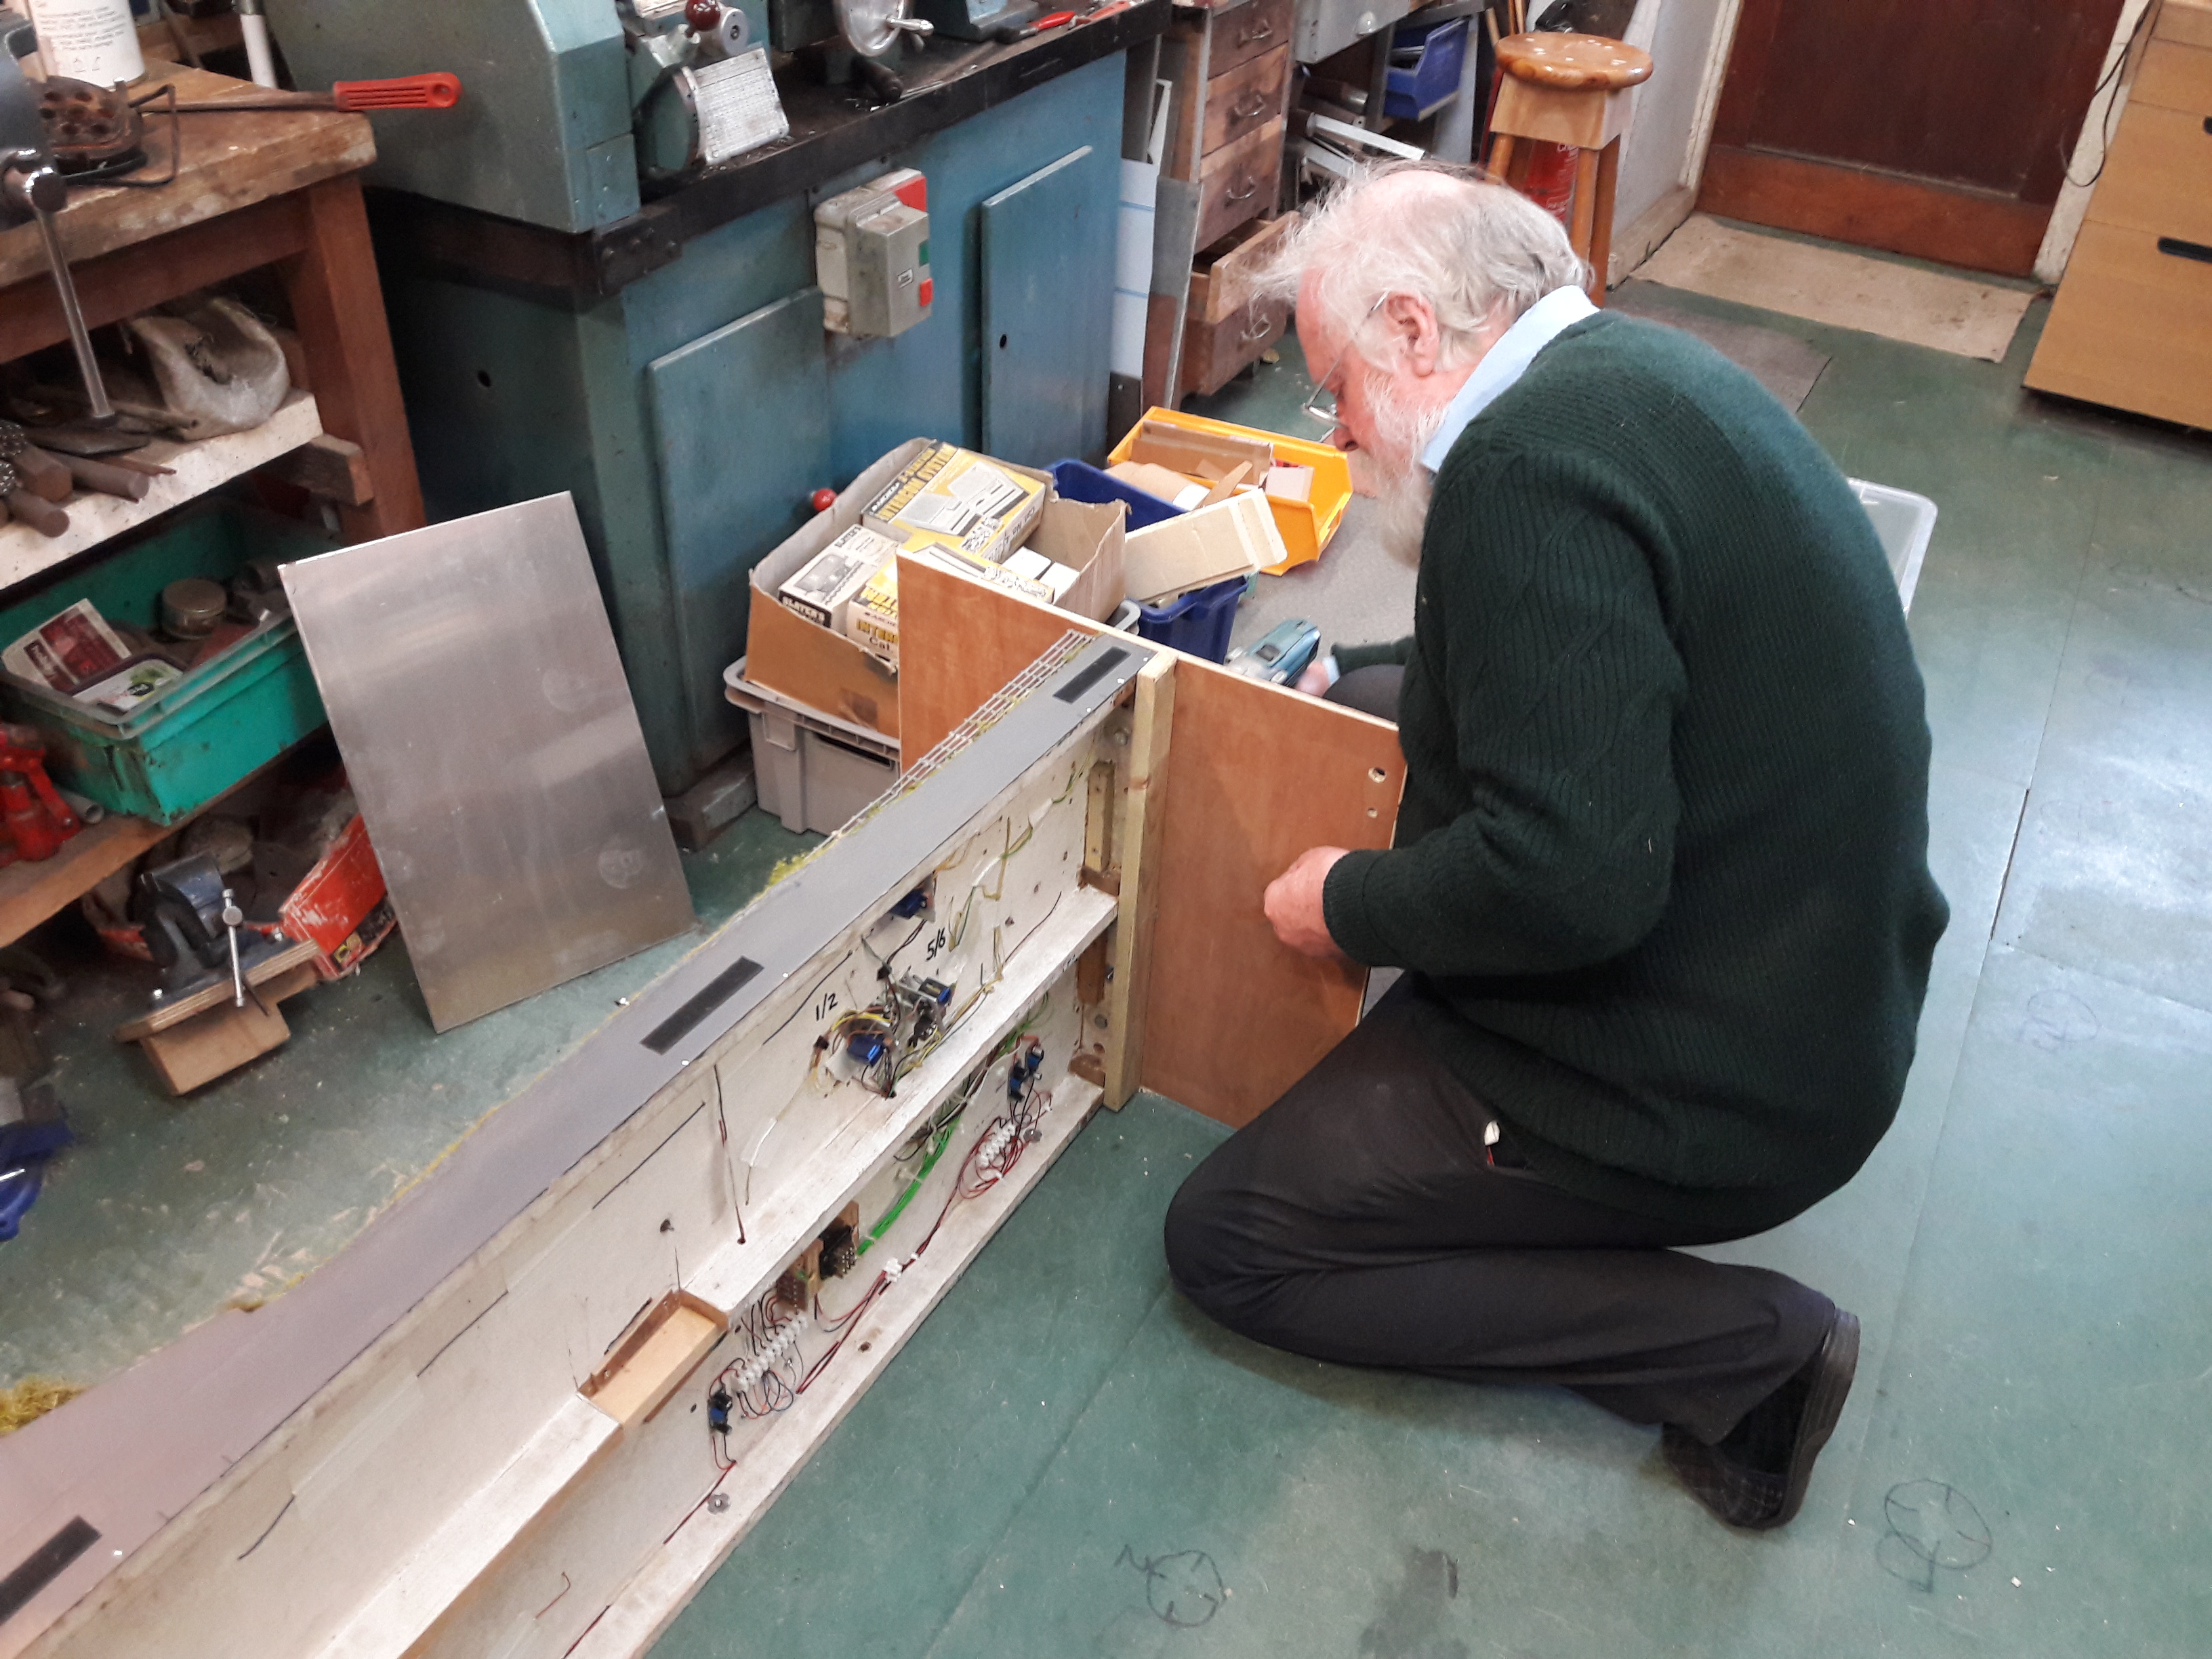
The new boards were first on our to-do list, but we weren't sure where to start (or even how to put the boards up) so we put the legs up, then transition board 4 and then the two new boards. We decided to tackle the road surfaces first, homing in on the two lengths of track with double check-rails. We hadn't used Smooth-it for many years, so we read the instructions and made-up a small quantity. It wasn't pourable, so we used a lolly stick and a spatula to lay it. We then remembered that the check rails had been set slightly below the track rails so that when cleaning the track, we didn't keep shaving the painted road surface off. However, we found a suitable width piece of metal for basic levelling and a chisel, which would be perfect for when the plaster has set. We used a thinner mix for the second batch which 'sort of' poured, but we weren't too convinced and may revert to plaster in future.


The engine shed floor was also laid, but it was a bit of a mess. We'll have to see how it looks when fully set and decide how to finish it.
As the plaster dried, a coat of brown paint was applied to the newspaper scenery areas. This seems to help envisage the different areas, giving a foretaste of the final effect. Another time filling job was running off some more slates for the new buildings. The laser cutter was dusted off, the relevant files located and a test sheet produced. A couple of passes were needed, that indicated the laser glass needed a clean, so just one full sheet was produced to get going and a few more in due course, after some maintenance.
If you don't recall them being used for the main building on Worton Court, the slate edges have micro imperfections that look much more realistic that straight-cut edges.
Finally, some pieces of foam that had been on board #4 were found to have interesting notches in. These were matched with parts of the timber frame, then glued and weighted down. We will look for more foam off-cuts around the workshop and develop the board further.

Stephen had been working on the engine shed at home. The initial corrugated iron sheeting was produced using our own 3D-printed roller mechanism and thin aluminium sheet. The roof was completed first, with the lower edges needing careful distressing to match various online examples. The back wall was next, for more complicated practice. The window layout meant that a 4-ply overlap only occurred once, but it was difficult to conceal. There were also issues with the corners, which were acceptable albeit a little untidy. It was then discovered that the wear on the gear units was creating slightly fan-shaped sheets that put paid to further sheets being made. Plastic corrugated sheeting was then used to progress the rest of the structure. The contact adhesive used on the metal sheets was 'blindly' continued on the plastic and had an effect, but not necessarily for the worse!
The cottages now have chimney pots. Self 3D printed windows are used on the engine shed and cottages.