Wednesday 27th February

Worklist:
People painting.
Lorry painting.
Signal electrics installation.

Geoff had painted the baseboard framework and the reverse faces of the backscene panels in the standard dark grey, which looked wonderful.


We discussed the next stage of the front-of-house backscene. We still favoured a matt white emulsion base with either sprayed or daubed grey tones, but a bit closer to actually doing it, we decided to prepare some board off-cuts to practice on. Geoff will prepare these before next week.

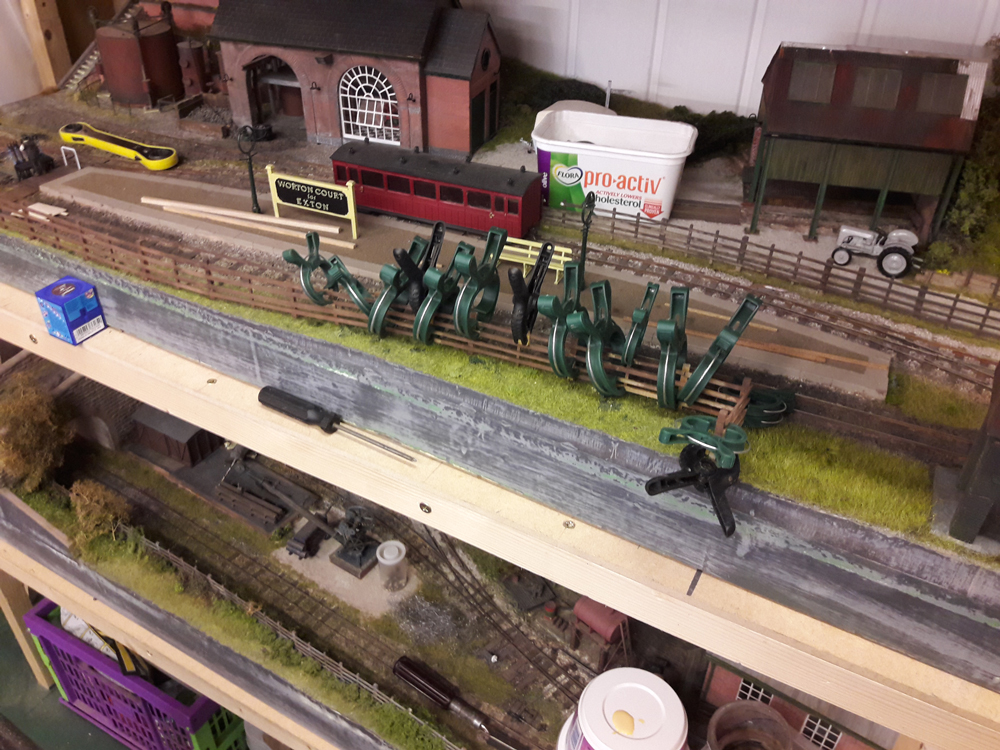
Geoff continued painting people. He'd carried out some research on typical dress code in the early 60's and had decided that one or two figures didn't fit in. However, he was able to confirm that hot-pants were definitely around at the time. Laurence continued to spray paint the coal lorry. Stephen had completed the assembly of the signal components (see below) and started to install them, fitting the switch panel and connector block. However, the problem of how to get two sets of wires for the frame signal light and the sound unit across to the platform board raised its head again. We have no spare pins on the 20-way connector and had already resorted to an extra 2-pin plug to supply the 19v ancillary feed. Stephen and Geoff had another session searching for a suitable plug and socket sets online, with little success. Geoff did have some 7-pin din plugs and sockets that would work nicely if a little more research failed to come up with anything.


The previous week, Stephen had drilled mounting holes through the baseboard and switch panel, and glued two nuts captured in plasticard blocks to the base. A V-cut had been made on the back edge of the switch base to make fitting the switch easier. At home, a small version of the LED flasher unit had been made that fitted neatly under the rotary switches. Coloured wires had been attached to the switches and the details recorded.


The schematic:


 All of the components were connected up using a breadboard and everything tested successfully.


A free, short, bell .mp3 file had been downloaded and then transferred to the sound unit (on left). It required playing on 'repeat' to get a decent length, but it wasn't working well. However, the sound unit has various playing options, and the best solution was to set it to single play. The sound clip was then duplicated to increase it to 20 seconds. Finally, to start the playback, a 5v relay (yellow block at bottom) was inserted to replicate the on-board switch. In operation, when a train arrives and stops at its signal, the operator switches to 'Frame', the bell sounds and the frame light flashes. When the bell stops (or earlier), switching to 'Signal' cancels the frame light and activates the signal flashing light, which can be switched off once the train has moved through.


Wednesday 20th February

Worklist:
Fencing.
People.

Some bad news as we met over our starting cuppa. Geoff had been sanding down the first coat of MDF primer on the backscene panels when the hoover bag gave way spectacularly and sent a dust-cloud around the workshop. The air was now clear, but a layer of white dust was everywhere, including the layout. We pressed-on regardless...

Despite Geoff's misgivings about the finish on the panels, they were given a big thumbs-up. A brief discussion on the next coat of paint determined that white matt, rather than satin emulsion would be applied with some grey graduated colour applied by spray or cotton pads.

Stephen went straight back to finishing the fencing by adding foliage.


Geoff went back to painting people. However, frustrated with the uninspiring tins of flesh colour at his disposal, he cleaned out an old tin and spent ages creating his own mix.


A discussion took place as to how the control panel would be fixed now account has to be taken for the back-panels. Packers were originally considered, and cutouts in the panels made for them, but Geoff came up with an alternative. Discard the existing brackets. Fit 'heavy duty' angles vertically on the ends of the control panel and hang the controls using M8 bolts into Tee nuts in the baseboard frame. Purpose made bolt incorporating finger grips would be perfect. Matching holes in the scenic panels allow for fixing through them.


Wednesday 13th February

Worklist:
Paint backscene.
Fencing.

Our work this week was dictated by the painting of the backscene. The layout was put away in its rack, but the front was left open. The two main back panels were laid out on the trestles and the two end panels placed on side tables. A tin of Leyland MDF primer had been purchased and using a 4" foam roller and tray, Geoff got going applying a coat to the panels, ably assisted by Laurence.....


Meanwhile, Stephen got comfortable on a stool next to the layout rack and continued with the new fencing.


The gate he'd made previously for the workshop path just didn't look right. The opening was very wide and as it spanned the board joint, the gate would have to be made removable. The use of miniature magnets had been envisaged, but it was decided to abandon this for the time being. The gate was trimmed to suit the ground frame / 'Agents cottage' gate and glued in place.

After lunch, Geoff applied a second coat of primer and Stephen painted the fence.


Next week, grass and foliage can be applied along the fence to blend it in.


Wednesday 6th February

Worklist:
Backscene.
Lorry painting.

Keen to get on with the backscene again this week, the curving profile sketched on the front was transferred to the back so that a clean jig-saw cut could be made. The panel was then offered-up to the layout and the three holes marked out, checked and rechecked. It was then noticed that the control box bracket would require the bottom strip to be cut through, reducing its intrinsic strength. A decision was made to move the bracket on the layout to a larger area, which will have to be replicated on the control box. The Tee nut holes were drilled, Tee nuts fitted and the panel fixed using new packs of flat headed M6 screws and penny washers.


Focus moved to the end board where a Tee nut was fitted over the quarry tunnel.


The two track holes and a small notch in the rear edge were cut out. Geoff turned up two brass ferules tapped M6 and knurled on the outside. Two holes in the solid bridge structure were drilled and the ferules glued in. After lunch, the end panel was fitted. A trial-fitting of the fiddleyard board showed that everything worked nicely.


We were all happy with the effect created by the full backscene and can't wait to get painting.


The decision to use a two-piece back panel was also the correct one. The joint is pretty good at present, and although it could open up with use, it wouldn't be difficult to 'hide', in the future. We also discussed the two corner junctions and various options to hold the top edges firmly together such as Velcro, embedded magnets and steel plates were proposed, but we came to no definite answer. They are not important at present, but further consideration will be given in due course.


With the end panel removed, the gap between the existing scenery and the end panel base structure was covered with paper mache. Grass and foliage will be added next week.


With bits of wood flying everywhere, Laurence had pressed-on with the repainting of the coal lorry. He and Geoff researched typical lorry liveries (Google Images), then checked the available spray can stocks and decided on a black chassis and mud guards, and maroon bodywork. It's looking very nice.


As we packed up, thoughts turned to the exhibition deadline, and we did a quick run-through of outstanding items, producing a daunting list. June seemed so far away, but it's now just around the corner!