Thursday 24th March

Worklist:
Wall details
Equipment overhaul
Workshop

Geoff made a 'set' of piers for his wall, following the pattern of the main wall - American bond for the faces and stretcher bond for the sloping top.


 Laurence continued to clean-up and then paint the vertical drill from the workshop.


Stephen cut out and shaped more pieces of 9 mm ply to create the over-door panels and glued them in place. These join the new ends and the 'floating' corner piers. The front wall infill panel was cut to shape and two, curved arch window openings cut and filed to shape. The new end doors were discussed. Sliders were possible and would open the inside up completely, but would have to be formed in two sections due to the limited space on the end wall. Pairs of hinged doors were agreed, although after successfully making an operating roller shutter door for his Gn15 layout, certain group members were keen for at least one end to be treated similarly. Stephen just smiled, 'non-committedly'.


Typical Laurence working photo - note toothbrush and jewellers loupe.


Thursday 17th March

Worklist:
Wall copings and gate
Layout fitting renovation
Tunnel lighting
Workshop renovation

A full house and a busy day.

Geoff progressed on two fronts - finishing off the copings and detailing the main gate. Now working on the last sections of coping, his pointing technique has been honed. First, a layer of Smooth-it is applied and allowed to dry. This is important as moist filler comes out very easily. Once dry, it is lightly sanded to achieve the desired effect. This process has shown up the difference between sheet manufacturers in the depth of the incised brick joints.


Gate detailing options were investigated. Brass pins to represent coach-bolt heads looked far too large and were replaced with Grandt Line plastic bolts - standard hex-head and washers, but the correct size.

Laurence primed and painted the yard crane he'd repaired on his last session. He then repaired the mine siding crane (below) that had broken away from its base. The pivot was drilled out, tapped and a new screw fitted. The crane could then be fully reassembled.


He then moved on to cleaning up some of the fittings from the workshop. Below is a floor-standing vertical drill, handmade by John from metal and plastic.


Peaceful progress
Stephen checked arrangement of the LED lighting string he'd fitted last week. It still looks low, but at a scale 6-7', it's a practical height for maintenance. Although no switches were available to complete the wiring, testing was possible. The voltage was reduced to the lowest possible (2.5v) which created a good effect.


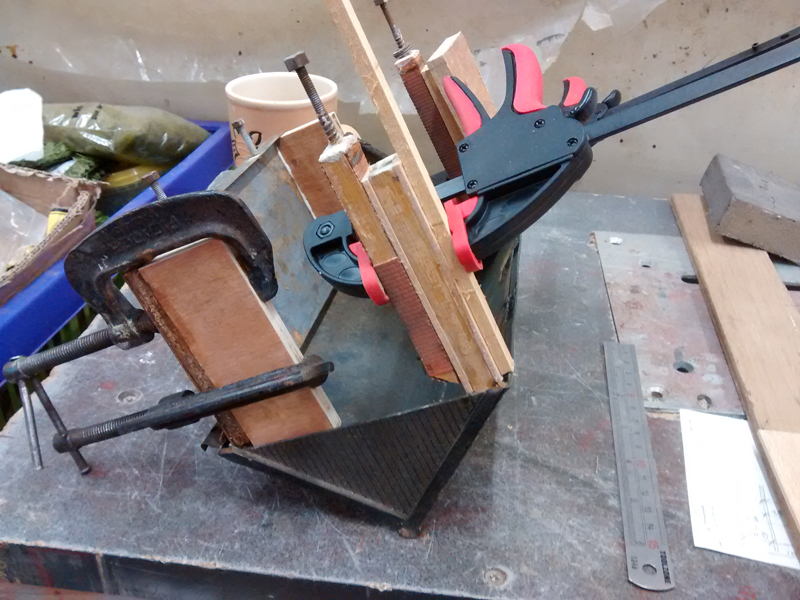
Stephen turned to the workshop, anticipating a quick make-over and a clean, but that idea soon faded away as a survey was undertaken. A group discussion took place about how to renovate the workshop building. It's an odd structure, comprising a solid, brick, back wall with four, spindly brick piers on the front. As such, the building offers virtually no protection to the equipment inside (although open views of the equipment are possible). More substantial walls, a different window arrangement, and open doors on the end were agreed. However, the peeling brick plastic and flimsy piers were not going to make life easy.

The structure was found to be bolted down, so its removal made good sense. As it was taken off, the floor started to lift, but finally came away - more work there! The plasticard was completely stripped off and the central piers removed. Additional wall panels were cut from 9mm plywood and, as the last act of the day, were glued in place. Stephen decided that rather than a full brickwork exercise, a brick quoin with rendered infill panels would be an equally acceptable (and easier) solution, which was accepted.


The final front-wall window arrangement will require some investigation, so Stephen measured up and will develop a proposal, for discussion.


After preparing this post, it was noted that last week was the 100th post. An impressive milestone!

Thursday 10th March

Worklist:
Gateway
Crane refurbishment
Lights

Geoff continued with making the gates and also adding pointing to the brickwork. Embarrassingly, he couldn't remember how he created the pointing on the previous panels and experimented with acrylic and spirit paints and with ready-made filler. Finally he tried a new product he'd been testing - Smooth-it, a model roadway plaster.


There is a lot of detail to be added - bolts, locks, handle, 'spikes' etc, but it does look good and the part-open door adds a little intrigue...


Laurence repaired a timber derrick crane. We don't think this came off John's layout, but we have a suitable spot in the new yard area, so it may get pressed into use there.


Stephen refitted the timber panel at the back of the goods shed and tested the new LED lighting, which worked well (forgot to take a photo - next week...) 

He then reviewed the tunnel lighting which was fitted with the board up on end. A power module was fitted and temporarily 'hooked-up' supplying 3v. The first impression was that the lights were too low, but then realised those at the entrance had dropped. These were repositioned and will need reassessing when dry. However, the general impression was that head height was not too low. (Note the use of a burnt out power module to prop the end up while the glue sets.)


The electrical supply was screwed in place together with feeds from the 19v bus, connector strip, tails to the switches etc. The tunnel and workshop require lights, so a rack for 4 switches will be created, just in case. The supply unit can be trimmed down to 1.3v, so some experimenting with lighting levels can be carried out to reduce the glare.


Thursday 3rd March

Worklist:
Gateway
Lighting

L being unavailable again, it was just G & S.

Geoff painted the new gateway brickwork. The red-oxide pot needed revitalising, but obviously had something else mixed in. A good stir got it going, and although it was still a bit patchy, the effect was very nice for old brickwork. We'll let it set hard, apply the mortar joint filler and see what it looks like.

The brick bond is clearly visible on the right of the photo (click to enlarge). 

When an extra sheet of the plastic brickwork was purchased at the recent Tonbridge show it was noted that the supplier labelled it 'American bond', as opposed to 'English Garden Wall Bond'. It appears that they were probably correct. Wikipedia states AB is 5 - 9 courses of stretchers between headers and EGWB 3 courses. And then there's Scottish bond! Brick bonds on Wikipedia

Over lunch, we spent time researching large timber gate construction on Google images, and decided on a framing pattern. Geoff started making the gates straight away. Watch this space...

Meanwhile, Stephen had set about gluing two sets of lights into place. The timber strip that the tunnel lights are fixed on, was gently cracked at various points to allow a self-supporting curve to be achieved. It was then painted a mid-brown colour. The layout was tipped on end and clamped to the table and the strip glued in place with wood glue and held with masking tape. (Photo rotated for clarity)


The goods shed lights were next. A piece of card, the length of the shed and the depth from main beam (light level) and the roof, was painted black. Once dry, the lights were glued to a long edge of the card (wood glue, to prevent dissolving the wire lacquer again). Once set, the other long edge was glued to the underside of the roof with contact adhesive.


The wires will be tidied up and the timber wall panel re-fixed.